

Mastering the Storyboarding Process: A Complete Guide for Filmmakers and Creators
The storyboarding process is the backbone of clear visual storytelling. Whether you are planning a short film a commercial or an animation sequence a well executed storyboard will save time money and creative frustration. In this article we break down why the storyboarding process matters the core elements of a successful storyboard and practical ways to build a pipeline that scales for any project. If you want more film production resources visit moviefil.com for guides and templates tailored to creators.
What is the storyboarding process
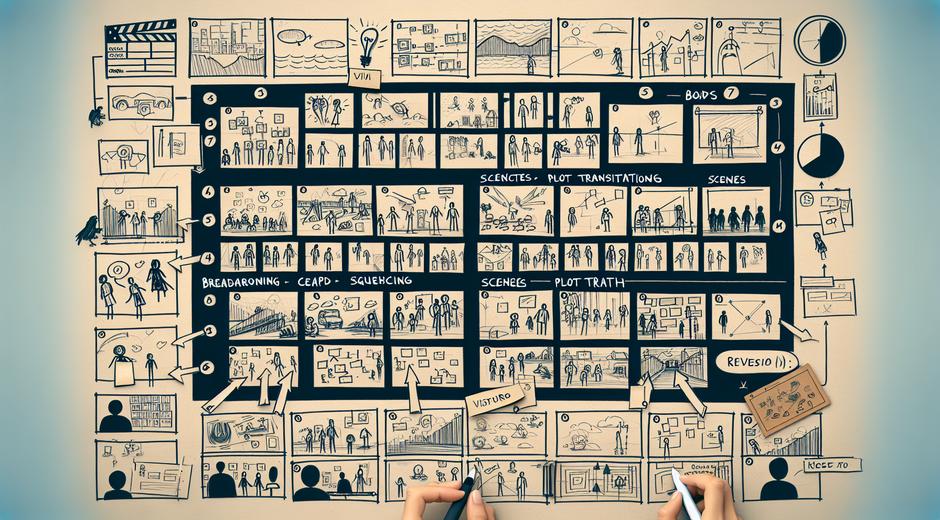
At its simplest the storyboarding process transforms a script or an idea into a sequence of visual panels that map out camera framing character positions and major actions. Each panel acts as a visual note for the director the cinematographer and the rest of the crew. The storyboard sets the tone for pacing continuity and shot composition. It functions as a bridge between written concept and actual production work.
Why the storyboarding process is essential
Many production teams consider storyboards indispensable because they reduce risk. When a team follows a clear storyboard they can anticipate logistical challenges estimate shoot time frame equipment needs and communicate intention to every department. For animation the storyboard is even more central because timing and motion are planned visually long before individual frames are rendered. In short the storyboarding process offers clarity focus and a shared visual language for the entire project team.
Key elements of a strong storyboard
A robust storyboard includes more than pretty sketches. Focus on these elements to make your storyboard effective:
- Visual composition and camera framing to show what the audience sees
- Shot type and camera movement notes such as close up medium shot or pan
- Character placement and key actions so performance and blocking are clear
- Timing and pacing cues that indicate scene length and rhythm
- Continuity notes that maintain logical flow between shots
- Dialogue or sound cues to pair audio with visual beats
For collaborative projects you can pair your storyboard with a shot list and a production schedule to turn creative decisions into executable steps.
Step by step storyboarding process
Below is a practical step by step approach you can adopt. This workflow is flexible and fits both low budget projects and larger productions.
1. Read and analyze the script. Identify key beats and emotional turns that need visual emphasis. Mark locations and cast requirements for each scene.
2. Create a rough outline of scenes. Break the narrative into sequences and determine the goal of each scene in service of the story.
3. Thumbnail sketches. Use quick small drawings to explore composition and camera angles. These sketches are low cost ways to test visual ideas and iterate rapidly.
4. Develop each panel. Expand chosen thumbnails into more detailed frames. Add notes for camera moves character actions and important props.
5. Add timing and pacing. Estimate how long each panel should last on screen and how transitions will feel. This is crucial for editing and for animation timing.
6. Build an animatic if needed. Combine storyboard frames with temporary audio to create a rough moving version of the sequence. Animatics reveal pacing issues and help secure early approvals.
7. Finalize and distribute. Share the finalized storyboard with production departments and update the document as changes occur during pre production and rehearsal.
Tools and techniques for efficient storyboarding
Choosing the right tools affects speed and collaboration. Traditional paper and pencil remain popular because they are fast and tactile. Digital tools offer advantages for remote teams easier revisions and integration with other production assets. Popular digital choices include apps that support layered editing camera guides and export to common formats for animatics. For learners who want to strengthen core drawing skills there are many online courses and tutorials available from reputable education sites like StudySkillUP.com that walk through composition perspective and visual continuity.
Some proven techniques to speed the storyboarding process include creating reusable templates for common shot types building a personal library of reference images and using simple color coding for lighting mood and scene status. If you work with a team adopt a naming convention for files and a central repository so everyone accesses the same latest version.
How to handle collaboration and feedback
The best storyboards benefit from early feedback from key stakeholders. Schedule review sessions with the director the director of photography and the production designer so each department can raise concerns about feasibility or propose alternatives. Use clear annotation to indicate which elements are locked and which remain open to revision. When collecting feedback focus on actionable notes such as adjust camera height for continuity or extend the holding shot by a specific amount of time rather than vague preferences.
Common mistakes to avoid in the storyboarding process
Even seasoned teams make recurring errors. Avoid these issues to keep your storyboarding process productive:
- Over drawing early on which slows iteration
- Ignoring timing which leads to poor pacing during editing
- Omitting camera movement notes which causes confusion on set
- Failing to update storyboards after major script changes
- Not involving technical departments early which creates costly surprises later
Teaching and learning the storyboarding process
Learning storyboarding is a mix of visual training and practical experience. Beginners should train observational drawing build a visual vocabulary of cinematic techniques and practice translating script beats into images. Try reverse engineering favorite scenes by creating a storyboard from a film sequence to see how professionals solved visual problems. Workshops and mentorship accelerate the learning curve because they give real world feedback and assignments aligned with production realities.
Metrics to measure storyboard effectiveness
You can evaluate a storyboard by checking whether it improves communication reduces shoot time or eliminates costly reshoots. Track revision counts time spent on set for unplanned adjustments and the number of continuity problems found in editing. Over time you will refine the storyboarding process to better balance detail with speed and to maximize the value the storyboard brings to production.
Final thoughts
The storyboarding process is a craft that blends artistic intuition with production discipline. It helps teams visualize risk plan logistics and preserve creative intent from script to screen. Whether you use simple paper thumbnails or a complex digital pipeline the principles remain the same: focus on clarity continuity and timing. Use iterative feedback and the right tools to make the process efficient and repeatable. For more guidance and templates to streamline your next project explore industry resources and training that support creators at every level.
Mastering the storyboarding process will empower you to make better decisions earlier reduce wasted effort on set and deliver stronger final work that connects with audiences.